navien npe-240a2 installation manual
Welcome to the Navien NPE-240A2 Installation Manual! This guide provides essential instructions for installing, operating, and maintaining your advanced condensing tankless water heater. Designed for qualified installers and homeowners, it ensures safe and efficient setup while meeting local codes and safety standards. Follow the step-by-step instructions carefully to optimize performance and warranty compliance.
1.1 Overview of the Navien NPE-240A2 Water Heater
The Navien NPE-240A2 is a high-efficiency, condensing tankless water heater designed for residential and light commercial use. It operates on natural gas or propane, offering a maximum flow rate of 11.2 GPM. Known for its compact, wall-mounted design, it provides reliable hot water delivery while saving space and energy. As part of the NPE series, it combines advanced technology with eco-friendly performance, making it a popular choice for modern installations.
1.2 Importance of Proper Installation
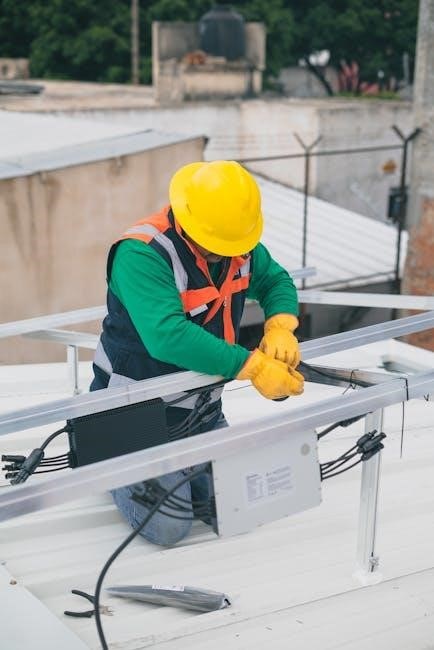
Proper installation of the Navien NPE-240A2 is crucial for ensuring safety, efficiency, and longevity. Incorrect installation can lead to safety hazards, such as carbon monoxide risks, and may void the warranty. Adherence to local codes and manufacturer guidelines is essential to prevent potential issues. Only qualified professionals should perform the installation to guarantee compliance with safety standards and optimal performance of the water heater.
1.3 Key Features and Benefits of the NPE-240A2 Model
The Navien NPE-240A2 offers advanced features like high efficiency, condensing technology, and a robust 199,900 BTUh capacity. It supports both natural gas and propane, providing flexibility. With an 11.2 GPM flow rate, it ensures consistent hot water supply. The compact, wall-hung design saves space, while the intuitive control panel simplifies operation. Its eco-friendly design reduces energy consumption and emissions, making it a cost-effective and environmentally responsible choice for homeowners.
System Requirements and Compatibility
The Navien NPE-240A2 requires compatible gas types (Natural Gas/Propane), adequate water pressure, and sufficient flow rate. Ensure electrical and venting systems meet manufacturer’s specified requirements for optimal performance.
2.1 Gas Type Compatibility (Natural Gas and Propane)
The Navien NPE-240A2 is compatible with both Natural Gas and Propane, offering flexibility for various installations. Ensure the gas supply meets specified pressure requirements for optimal performance. Proper conversion and configuration are essential to maintain efficiency and safety. Always follow manufacturer guidelines for gas type selection and installation to avoid hazards and ensure warranty compliance.
2.2 Water Pressure and Flow Rate Requirements
The Navien NPE-240A2 requires a minimum water pressure of 30 psi and a maximum of 80 psi for optimal performance. The flow rate must be at least 0.4 GPM to ensure proper operation. Ensure the water supply meets these specifications to avoid reduced efficiency or potential damage. Always verify local water pressure standards and adjust the system accordingly to maintain reliability and safety.
2.3 Electrical Requirements and Power Supply
The Navien NPE-240A2 requires a 120V AC power supply and a dedicated 15-amp circuit. Ensure the system is connected to a GFCI-protected outlet for safety. The electrical connections must comply with local codes and regulations. Proper grounding is essential to prevent electrical hazards. Verify the circuit meets the specified voltage and amperage requirements before installation to ensure reliable operation and avoid potential damage to the unit.
Tools and Materials Needed for Installation
Installers will need basic tools like wrenches, drills, and tubing cutters, along with materials such as pipes, connectors, and electrical supplies to complete the installation safely and efficiently.
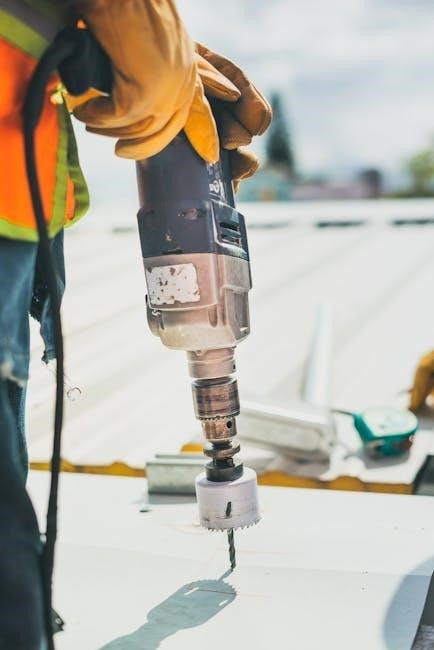
3.1 Essential Tools for the Installation Process
Key tools required include adjustable wrenches, pipe cutters, drills, screwdrivers, and tubing cutters. Additional items like Teflon tape, gas line connectors, and venting components are necessary. Ensure all tools are readily available to facilitate a smooth and efficient installation process, adhering to safety guidelines and manufacturer recommendations for optimal results.
3.2 Required Materials and Components
Essential materials include venting components, gas connectors, water piping, and electrical supplies. Ensure you have isolation valves, condensate drain kits, and appropriate fasteners. Additional components like Teflon tape and pipe sealants are necessary for secure connections. Verify all materials meet local codes and compatibility standards for the Navien NPE-240A2 to ensure a safe and efficient installation process.
Choosing the Installation Location
Ensure you have venting components, gas connectors, water piping, and electrical supplies. Additional materials include isolation valves, condensate drain kits, and fasteners. Teflon tape and pipe sealants are essential for secure connections. Verify all components meet local codes and compatibility standards for the Navien NPE-240A2 to ensure a safe and efficient installation process.
4.1 Indoor vs. Outdoor Installation Considerations
Indoor installation requires proper ventilation to prevent carbon monoxide buildup, while outdoor setups avoid ventilation challenges but need protection from weather. Ensure the location is well-ventilated, accessible, and meets local codes. Avoid installing in confined or poorly ventilated spaces. Outdoor units must be shielded from direct sunlight and extreme weather conditions. Always comply with safety guidelines to prevent hazards and ensure optimal performance of the Navien NPE-240A2 water heater.
4.2 Space and Ventilation Requirements
Ensure adequate space around the Navien NPE-240A2 for proper maintenance and airflow. Maintain minimum clearances as specified in the manual to prevent overheating. Proper ventilation is crucial for efficient operation and safety, especially in indoor installations. Install vents and ensure they are free from obstructions to allow correct airflow and prevent gas buildup. Always follow local building codes and manufacturer guidelines for optimal performance and safety.
4.3 Prohibited Locations (e.g., Recreational Vehicles)
Never install the Navien NPE-240A2 in recreational vehicles, boats, or trailers. This is a critical safety precaution to avoid carbon monoxide hazards. Such installations are strictly prohibited due to the risk of poisoning. Always adhere to manufacturer guidelines and local codes to ensure safe and compliant installation. Proper ventilation and stationary placement are essential for safe operation.
Step-by-Step Installation Process
Follow the detailed instructions for mounting, connecting gas/water supplies, venting, and electrical connections. Ensure compliance with safety standards and manufacturer guidelines for a secure setup.
5.1 Mounting the Unit on the Wall
Mount the Navien NPE-240A2 using the provided wall bracket, ensuring it is level and securely fastened. Choose a location with adequate ventilation, avoiding flammable materials nearby. Follow manufacturer guidelines for weight distribution and structural support to prevent damage or safety hazards during operation.
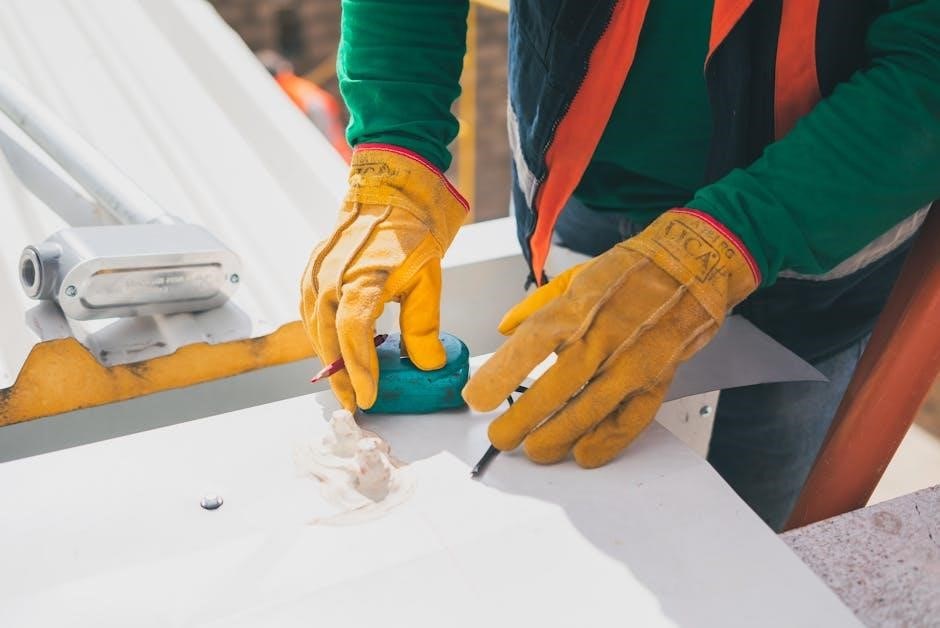
5.2 Connecting Gas and Water Supplies
Connect the gas supply using approved piping, ensuring compatibility with natural gas or propane. Secure all fittings tightly and test for leaks using a soap solution. For water connections, use 3/4″ NPT fittings and ensure proper flow rate. Follow the manual’s guidelines for pressure testing and alignment to avoid damage or malfunction. Always comply with local codes and safety standards during connections.
5.3 Venting and Condensate Drain Setup
Install the venting system using approved materials like PVC or ABS, ensuring proper slope and length as per local codes. Connect the vent adapter securely to the unit. For condensate drainage, use an approved kit and ensure proper discharge to a floor drain or indirect waste receptor. Test the system for leaks and ensure all connections are secure to prevent blockages or backflow. Follow manufacturer guidelines for venting and drainage configurations.
5.4 Electrical and Power Connections
Connect the unit to a dedicated 120V or 240V circuit with a 20A or 30A breaker, depending on the model. Use appropriately rated wires and ensure all connections are secure. Install a GFCI-protected outlet if required. Verify polarity and grounding to prevent electrical hazards. Follow the wiring diagram in the manual and ensure compliance with local electrical codes for safe and efficient operation of the water heater.
5.5 Initial Setup and Configuration
After installation, configure the unit by setting DIP switches according to your preferences. Adjust the water temperature using the control panel, ensuring it meets your needs. Navigate the menu to set operating modes, such as energy-saving or high-demand settings. Review all configurations to ensure proper functionality and safety. Refer to the manual for detailed instructions on activating advanced features and optimizing performance for your specific requirements.
Post-Installation Checks and Testing
After installation, test gas and water connections for leaks, ensure venting functions correctly, and verify electrical connections. Consult the manual for detailed testing procedures to confirm optimal performance and safety.
6.1 Testing Gas and Water Connections
Testing gas and water connections ensures system safety and functionality. Use a gas leak detector to verify the integrity of gas lines. Check water connections for leaks using soapy water or a leak-detection solution. Ensure all fittings are secure and properly tightened. Refer to the manual for specific testing procedures to confirm connections are leak-free and functioning as intended before finalizing the installation.
6.2 Verifying Venting and Drainage Functionality
After installation, verify the venting system by checking for blockages or damage. Ensure proper vent termination and secure connections. Test the condensate drain by observing water flow during operation. Confirm drainage is directed away from the unit and follows local codes. Proper venting and drainage ensure safe operation, prevent carbon monoxide hazards, and maintain efficiency. Refer to the manual for detailed inspection procedures to guarantee system functionality and safety standards.
6.3 Ensuring Proper Electrical Connections
Verify that all electrical connections are secure and meet the specified voltage requirements. Check the circuit breaker or fuse to ensure it is appropriately rated. Inspect wires for damage and proper grounding. Ensure the GFCI protection is installed if required. Test the power supply to confirm it matches the unit’s specifications. Refer to the manual for detailed electrical connection procedures and safety guidelines to ensure reliable operation and compliance with local codes.
Operating the Navien NPE-240A2
Operating the Navien NPE-240A2 involves adjusting temperature settings, easily navigating the control panel, and utilizing energy-saving features for optimal performance and efficiency.
7.1 Adjusting Water Temperature Settings
The Navien NPE-240A2 allows precise temperature adjustment for optimal comfort. Default temperature is set to 120°F, but users can adjust it between 100°F and 140°F using the control panel. Access the temperature settings menu, use the arrow buttons to select the desired temperature, and confirm the change. Always follow manufacturer guidelines to avoid scalding risks and ensure energy efficiency. Refer to the manual for detailed steps.
7.2 Navigating the Control Panel and Menu
The Navien NPE-240A2 features an intuitive control panel with a user-friendly interface. Use the arrow buttons to scroll through menu options, such as temperature settings, diagnostics, and system status. Press the select button to confirm choices. The menu includes options for adjusting water temperature, viewing error codes, and accessing advanced settings. Refer to the manual for detailed instructions on navigating and customizing your water heater’s settings for optimal performance and efficiency.
7.3 Energy Efficiency and Usage Tips
Optimize energy savings with the Navien NPE-240A2 by utilizing its advanced eco-mode, which reduces unnecessary gas consumption. Use the control panel to set a schedule or adjust temperature settings based on demand. Regularly maintaining the unit and ensuring proper venting can enhance efficiency. Consider lowering the temperature slightly during off-peak times to reduce energy usage without compromising comfort. These practices help minimize utility bills while prolonging the unit’s lifespan and performance.

Maintenance and Troubleshooting
Regular maintenance ensures optimal performance. Clean filters, inspect vents, and check for leaks. Troubleshoot common issues like error codes or low water flow by resetting the unit or checking diagnostics.
8.1 Regular Maintenance Tasks
Perform regular maintenance to ensure optimal performance. Clean the air intake filter every 6 months and inspect vent pipes for blockages. Check for leaks in gas and water connections. Ensure the condensate drain is clear and functioning properly. Descale the heat exchanger annually to prevent mineral buildup. Refer to the manual for detailed instructions or contact Navien support for assistance. Regular maintenance prevents issues and extends the unit’s lifespan.
8.2 Common Issues and Solutions
Address common issues promptly to maintain efficiency. If the unit shows an error code like “E01,” check for blockages in vent pipes or ensure proper gas supply. Leaks around connections can be fixed by tightening fittings. Noise issues may indicate loose parts or scale buildup. Reset the unit by turning power off and on. Always refer to the troubleshooting section for detailed solutions and consult a professional if problems persist. Regular maintenance helps prevent these issues.
8.3 Resetting the Unit and Diagnostic Modes
To reset the Navien NPE-240A2, turn off the power at the circuit breaker, wait 30 seconds, and restore power. This resets the system. For diagnostic modes, navigate to the control panel and access the error codes. These codes help identify issues like sensor malfunctions or gas supply problems. Use the manual to interpret codes and address problems. If unresolved, contact a certified technician for assistance to ensure proper functionality and safety.
Safety Precautions and Warnings
Prevent hazards by following all safety guidelines. Avoid carbon monoxide risks, ensure proper ventilation, and keep flammable materials away. Only qualified professionals should handle gas and electrical components.
9.1 Carbon Monoxide Hazard Prevention
Prevent carbon monoxide risks by ensuring proper ventilation and avoiding installation in recreational vehicles or boats. Never operate the unit in confined spaces without adequate airflow. Improper installation can lead to CO buildup, posing serious health risks. Always follow ventilation guidelines and ensure the unit is installed by a qualified professional. Failure to comply may result in warranty voidance and increased liability. Adhere to all safety precautions outlined in the manual to ensure safe operation.
9.2 Avoiding Fire Hazards
To prevent fire hazards, ensure the Navien NPE-240A2 is installed in a well-ventilated area, away from flammable materials. Keep the surrounding space clear of combustible substances and ensure proper clearance as specified in the manual. Regularly inspect gas and water connections for leaks or damage. Never operate the unit near open flames or sparks. Proper installation by a qualified technician is essential to minimize fire risks and ensure compliance with safety standards.
9.3 Proper Handling of Gas and Electrical Components
Always handle gas and electrical components with caution to avoid accidents. Turn off the power and gas supply before performing any maintenance or repairs. Use appropriate tools to prevent damage to connections or wiring. Ensure all electrical connections are secure and meet local codes. Never attempt to modify or bypass safety features. Proper handling ensures safe operation and prevents potential hazards, adhering to the manufacturer’s guidelines and safety standards. Regular inspections are recommended to maintain system integrity.
Compliance and Certification
Navien NPE-240A2 complies with local and national codes, ensuring safe and efficient operation. Proper installation and documentation are required for warranty validation and technical support eligibility.
10.1 Local and National Codes Compliance
Installation must adhere to local building codes and the National Fuel Gas Code. Compliance ensures safety, efficiency, and warranty validity. Proper permits and inspections are mandatory to meet regulatory standards and avoid hazards like carbon monoxide risks, especially in prohibited locations such as recreational vehicles or boats. Always follow guidelines for safe and lawful setup.
10.2 Required Certifications and Standards
The Navien NPE-240A2 must meet certifications from recognized bodies like CSA and comply with standards such as NFPA and ASHRAE. Proper certification ensures the unit meets safety, efficiency, and performance criteria. Compliance with these standards is mandatory for warranty validation and to guarantee optimal operation. Always verify certifications before installation to ensure adherence to industry and safety regulations.
10.3 Documentation for Warranty and Support
Proper documentation is crucial for warranty claims and support. Maintain records of installation, maintenance, and repairs, including proof of purchase and service history. Navien requires accurate documentation to process warranty requests. Ensure all installers and service providers are certified and follow guidelines. Keep the original installation manual and any related paperwork accessible for reference. This ensures seamless support and warranty validation throughout the product’s lifecycle.
Additional Resources
Explore additional resources like user guides, FAQs, and expert forums for deeper insights and troubleshooting tips on the Navien NPE-240A2 installation and operation.
11.1 Manufacturer Support and Contact Information
Navien offers comprehensive support for the NPE-240A2. Visit their official website for contact details, including phone, email, and live chat. Access resources like manuals, FAQs, and troubleshooting guides. Their customer service team is available to assist with technical queries, installation, and maintenance. For warranty inquiries or service requests, contact Navien directly to ensure compliance with their support policies and procedures.
11.2 Online Manuals and Guides
Navien provides downloadable PDF manuals for the NPE-240A2, including installation, operation, and troubleshooting guides. Visit their official website to access these resources, ensuring you have the latest information for proper setup and maintenance. Additional guides cover technical specifications, warranty details, and compliance standards, helping users optimize performance and troubleshoot common issues effectively.
11.3 Community Forums and Expert Advice
Engage with online forums and communities dedicated to Navien products for peer-to-peer support and expert advice. These platforms often feature discussions on installation, troubleshooting, and optimization tips from experienced users and professionals. Additionally, Navien’s official support channels provide direct access to technical experts for personalized guidance, ensuring you maximize your NPE-240A2’s performance and address any challenges effectively.