aviva glucose meter manual
Product Overview

The Aviva Glucose Meter is a user-friendly device designed to measure blood glucose levels accurately. It offers alternative site testing and is ideal for diabetes management.
1.1 What is the Aviva Glucose Meter?
The Aviva Glucose Meter is a portable, user-friendly device designed to measure blood glucose levels. It is part of a comprehensive system that includes test strips and control solutions. The meter is intended for personal use, providing accurate and quick results to help manage diabetes effectively. It supports alternative site testing, allowing users to collect blood samples from locations like the forearm or palm, reducing fingertip discomfort. The Aviva Glucose Meter is compatible with specific test strips, ensuring reliable performance. Its compact design and ease of use make it an ideal choice for daily glucose monitoring, helping users and healthcare professionals track blood sugar levels efficiently.
1.2 Key Features and Benefits
The Aviva Glucose Meter offers a range of features designed to enhance user experience and accuracy. It provides quick and precise blood glucose readings, supporting alternative site testing to reduce fingertip discomfort. The meter is lightweight and portable, making it easy to carry for daily use. Its user-friendly interface ensures simple navigation, while the ability to store test results allows for effective tracking of glucose levels over time. Compatibility with specific test strips ensures reliable performance, and the option to transfer data to a computer enables comprehensive monitoring. These features make the Aviva Glucose Meter an excellent tool for managing diabetes efficiently and confidently.
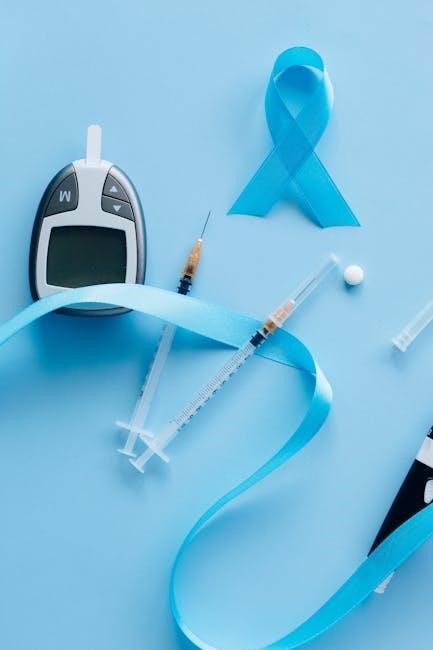
Components of the Aviva Glucose Meter System
The Aviva Glucose Meter System includes the meter, test strips, control solutions, and accessories like lancing devices and lancets, ensuring comprehensive blood glucose monitoring.
2.1 The Meter
The Aviva Glucose Meter is a compact, lightweight device designed for easy blood glucose monitoring. It features a user-friendly interface with a backlit display for clear readability in any lighting conditions. The meter automatically codes itself when a test strip is inserted, eliminating manual coding errors. It provides accurate results in just a few seconds, making it ideal for frequent testing. The Aviva Meter also stores historical data, allowing users to track their glucose levels over time. Its sleek design and portability make it convenient for daily use. The meter is compatible with the Aviva test strips and control solutions, ensuring reliable performance. It is designed to meet the needs of both individuals and healthcare professionals, offering precise and efficient glucose monitoring.
2.2 Test Strips
The Aviva Glucose Meter uses specific test strips designed for accurate blood glucose measurement. These strips are intended for single-use and work exclusively with the Aviva Meter. Each strip is pre-coded, eliminating the need for manual coding, which reduces errors. The test strips are designed to collect a small capillary blood sample, typically from the fingertip or approved alternative sites like the forearm. They are sensitive to environmental conditions, so proper storage in the original container is essential to maintain accuracy. The strips should not be shared between users to ensure hygiene and reliability. Always check the expiration date and handle the strips carefully to avoid damage. Proper use of test strips is crucial for obtaining accurate glucose readings.
2.3 Control Solutions
Control solutions are used to verify the accuracy of the Aviva Glucose Meter and test strips. They are available in specific concentrations to simulate blood glucose levels. To use, apply a small drop of control solution to the test strip, then insert it into the meter. The meter will display a reading, which should fall within the expected range indicated on the control solution vial. Proper storage of control solutions is essential; they should be kept at room temperature and used before the expiration date. Always handle the solutions carefully to avoid contamination. Regular testing with control solutions ensures the system is functioning correctly and provides reliable results for diabetes management.
2.4 Accessories
The Aviva Glucose Meter system includes several accessories to enhance usability and convenience. These include a lancing device for obtaining blood samples, lancets for comfortable pricking, and a carrying case for easy transport. Additionally, control solutions are provided to ensure the meter and test strips are functioning correctly. The system may also come with a user manual and quick-start guide for easy reference. Some models include a USB cable for data transfer to a computer. Accessories like the Aviva SoftClix or FastClix lancing devices offer ergonomic designs for reduced discomfort. These components are designed to work seamlessly with the meter, ensuring accurate and reliable blood glucose monitoring. Always use genuine accessories to maintain compatibility and performance.
Setup and Installation
Unbox and insert the battery, then set the date and time. Use the control solution to verify meter functionality before first use for accurate results.
3.1 Unboxing and Initial Setup
Begin by carefully unboxing the Aviva Glucose Meter and its components, including the meter, test strips, control solutions, and accessories. Ensure all items are included and undamaged. Wash your hands before handling the meter. Insert the battery as instructed, typically found in the manual. Power on the device to verify it functions correctly. Familiarize yourself with the meter’s buttons and display. Read the manual thoroughly to understand proper usage and safety precautions. If any issues arise during setup, refer to the troubleshooting section or contact customer support. Proper initial setup ensures accurate readings and optimal performance for managing blood glucose levels effectively.
3.2 Battery Installation
Open the battery compartment, usually located at the back or bottom of the Aviva Glucose Meter. Insert the required lithium battery, ensuring the positive and negative terminals align correctly. Close the compartment securely. Power on the meter to confirm proper installation. If the display does not turn on, check the battery orientation and ensure the compartment is closed tightly. Avoid using damaged batteries, as this may cause malfunction. If issues persist, refer to the manual or contact customer support. Proper battery installation is crucial for accurate readings and device functionality. Always use the battery type recommended in the manual to maintain optimal performance and avoid damage to the meter.
3.3 Setting the Date and Time
To set the date and time on your Aviva Glucose Meter, navigate to the settings menu using the navigation buttons. Select the “Date and Time” option and follow the on-screen instructions. Use the arrow keys to adjust the date (MM/DD/YYYY) and time (HH:MM) formats. Ensure the correct time zone is selected if applicable. Once all fields are set, save the changes to update the meter. Accurate date and time settings are essential for proper test result logging. Refer to the user manual for detailed visual guidance. If the meter does not retain the settings, check the battery or consult the troubleshooting section. Proper configuration ensures accurate and reliable glucose tracking. Always verify the date and time before performing a test for precise record-keeping.

Testing Procedures
The Aviva Glucose Meter uses test strips to measure blood glucose levels. Collect a blood sample, insert the strip, and follow on-screen instructions for accurate results.
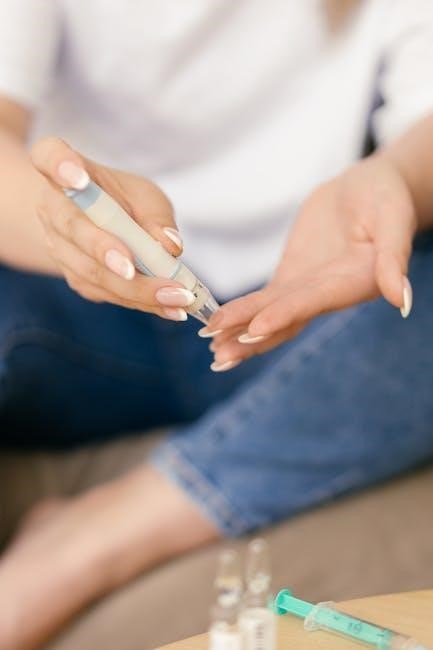
4.1 Blood Sample Collection
Collecting a blood sample with the Aviva Glucose Meter involves a few simple steps. Start by washing your hands thoroughly with soap and warm water. Dry them completely before proceeding. Next, prepare the meter by ensuring it is turned on and ready for testing. Use a lancet to prick the side of your fingertip or an approved alternative site, such as the forearm or palm. Allow a small drop of blood to form naturally—avoid squeezing the finger excessively, as this can affect accuracy. Gently touch the test strip to the blood drop, ensuring it fills the designated area completely. If needed, repeat the process on the same or a different site. Always use a new lancet for each test to maintain hygiene and prevent infection.
4.2 Using Test Strips
Using test strips with the Aviva Glucose Meter is straightforward. Ensure you use only the Accu-Chek Aviva or Aviva Plus test strips, as they are specifically designed for this meter. Insert the strip into the meter until it clicks, ensuring proper alignment. The meter will automatically turn on and prepare for testing. Once the strip is loaded, collect a blood sample and touch the tip of the strip to the blood drop. Avoid touching the test strip pad with your fingers or allowing it to come into contact with any contaminants. Use each test strip only once and before the expiration date printed on the packaging. Proper handling ensures accurate results and maintains the integrity of the testing process.
4.3 Alternative Site Testing
The Aviva Glucose Meter supports alternative site testing, allowing users to collect blood samples from the forearm, upper arm, or palm. This method is less painful and ideal when fingertips are sore or calloused. It offers greater comfort while maintaining accurate glucose monitoring. However, during periods of rapid glucose changes, such as after meals or exercise, fingertip testing is still recommended for the most precise results. Always consult the user manual for a complete list of approved alternative sites and any specific limitations. This feature enhances the overall testing experience, making diabetes management more flexible and convenient for users.
4.4 Performing a Blood Glucose Test
Performing a blood glucose test with the Aviva Glucose Meter is straightforward and designed for accuracy. Start by ensuring the meter is ready for use, then insert a test strip into the meter. Obtain a small blood sample using a lancet, typically from the fingertip or an approved alternative site. Gently apply the blood sample to the designated area on the test strip. The meter will automatically detect the sample and display the glucose reading within seconds. The system is designed for use with fresh capillary blood and provides precise results to help manage diabetes effectively. Always follow the manual’s instructions for optimal performance and accuracy.
Maintenance and Troubleshooting
Regularly clean the meter with a soft cloth to maintain accuracy. Troubleshoot common issues like error codes or test strip errors by consulting the user guide. Contact support for unresolved problems.
5.1 Cleaning the Meter
To maintain the accuracy and longevity of your Aviva Glucose Meter, regular cleaning is essential. Turn off the meter and wipe it gently with a soft, dry cloth. For stubborn spots, dampen the cloth with distilled water, but ensure it is not soaking wet. Avoid using harsh chemicals, alcohol, or abrasive materials, as they may damage the screen or casing. Never submerge the meter in water or expose it to excessive moisture. Clean the test strip port regularly to ensure proper strip insertion. Allow the meter to air dry completely before turning it back on. Proper cleaning ensures reliable performance and accurate blood glucose readings. Always refer to the user manual for detailed cleaning instructions.
5.2 Troubleshooting Common Issues

Troubleshooting your Aviva Glucose Meter is straightforward. If the meter displays an error message, refer to the user manual for specific codes. Common issues include incorrect test strip insertion or expired strips. Ensure strips are stored properly and not past their expiration date. If the meter fails to turn on, check the battery installation or replace it if necessary. For inaccurate readings, perform a control solution test to verify meter accuracy. Connectivity issues with the Aviva Software can be resolved by restarting the meter or updating the software. If problems persist, contact customer support for assistance. Regular maintenance and proper usage can prevent many common issues, ensuring reliable blood glucose monitoring. Always follow the troubleshooting guide in the manual for detailed solutions.
5.3 When to Contact Support
Contact support if you encounter issues not resolved by troubleshooting. Reach out if the meter consistently shows error codes, fails to power on, or provides inaccurate readings despite proper use. If control solution tests indicate malfunction, or if the device is physically damaged, seek assistance. Connectivity problems with the Aviva Software that persist after restarting or updating should also be addressed. For warranty or repair inquiries, or if you suspect a defective component, contact customer support. They can guide advanced troubleshooting, repair options, or replacements. Visit the official website or refer to the manual for contact details to ensure timely resolution and maintain accurate blood glucose monitoring.

Data Management and Tracking
The Aviva Glucose Meter system allows users to review test results, track trends, and manage data using the Aviva Software for comprehensive diabetes monitoring and sharing capabilities.
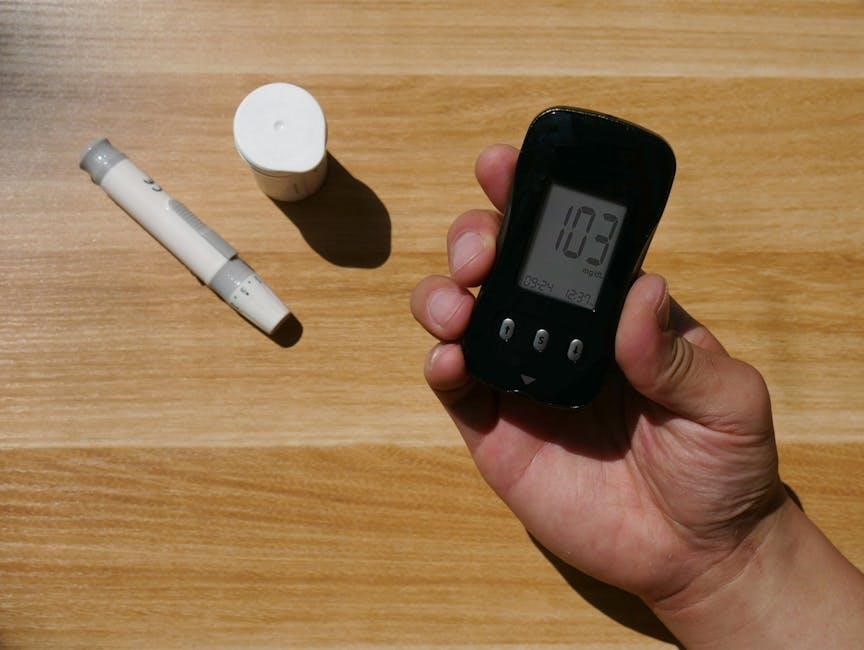
6.1 Reviewing Test Results
The Aviva Glucose Meter provides clear and accurate test results displayed on its LCD screen. Users can easily review their blood glucose readings, which are stored in the meter’s memory. The system allows for tracking trends over time, enabling better diabetes management. The Aviva Software complements this feature by organizing and analyzing data, offering detailed reports and graphs. This functionality helps users identify patterns and make informed decisions. Additionally, the meter’s ability to store multiple results facilitates sharing with healthcare providers for personalized advice. The Aviva Glucose Meter is designed for individual use, ensuring privacy and accuracy in monitoring blood glucose levels effectively.
6.2 Using the Aviva Software
The Aviva Software is a powerful tool designed to manage and analyze blood glucose data from the Aviva Glucose Meter. It allows users to transfer test results seamlessly to a computer for detailed tracking and reporting. The software generates graphs and charts to visualize blood glucose trends over time, helping users identify patterns and make informed decisions. It also enables users to set reminders, log meals, and track physical activity, providing a comprehensive view of their diabetes management. The Aviva Software is user-friendly, with an intuitive interface that simplifies data organization. By integrating with the Aviva Glucose Meter, it offers a complete solution for monitoring and managing blood glucose levels effectively.
6.3 Data Portability and Sharing
The Aviva Glucose Meter system offers robust data portability and sharing options, enabling users to manage their blood glucose data efficiently. Test results can be easily exported to a computer or mobile device using the Aviva Software, allowing for detailed analysis and tracking. Users can share their data with healthcare providers via email or cloud storage, facilitating better diabetes management. The system also supports compatibility with popular health apps, enabling seamless integration of blood glucose data with other health metrics. This feature ensures that users can maintain a comprehensive health record and share it securely with their medical team, promoting collaborative care and improved health outcomes.
Additional Resources and Support

Access comprehensive guides, manuals, and tutorials for the Aviva Glucose Meter online. Customer support is available for troubleshooting and repair options, ensuring optimal device performance.
7.1 User Manual and Guides
The Aviva Glucose Meter comes with a detailed user manual that provides step-by-step instructions for setup, testing, and maintenance. Available online, the manual includes troubleshooting tips, safety precautions, and warranty information. It also covers how to interpret test results and use accessories like test strips and control solutions. The guide is designed to help users optimize their diabetes management. Additional resources, such as quick-start guides and instructional videos, are accessible on the official website. These materials ensure users can operate the meter confidently and effectively. Regularly updating to the latest manual version is recommended for the best experience.

7.2 Online Tutorials and Videos
Online tutorials and videos for the Aviva Glucose Meter are available on platforms like YouTube and the official Accu-Chek website. These resources provide visual guidance on using the meter, from initial setup to performing tests. Videos cover topics such as inserting test strips, collecting blood samples, and interpreting results. Tutorials also demonstrate alternative site testing and troubleshooting common issues. Many videos are concise, making it easy to follow along. Additionally, some tutorials are available in multiple languages, ensuring accessibility for a broader audience. These online resources complement the user manual, offering a hands-on learning experience to help users master the Aviva Glucose Meter’s features and functions effectively.
7.3 Customer Support Contact Information
For assistance with the Aviva Glucose Meter, customers can contact Accu-Chek customer support through various channels. The official Accu-Chek website provides a dedicated support section with contact details, including phone numbers and email addresses. Users can also access live chat or submit inquiries online. Additionally, regional customer service centers are available to address location-specific needs. Support is typically available during business hours, though some regions may offer extended or 24/7 support. For urgent issues, calling the provided hotline is recommended. Customers can also refer to the user manual or online resources for troubleshooting before reaching out to support. This ensures a comprehensive support system to help users resolve any issues promptly and effectively.
7.4 Warranty and Repair Options
The Aviva Glucose Meter is backed by a limited warranty provided by Roche Diabetes Care. The warranty typically covers manufacturing defects for a specified period, usually one year from the date of purchase. For repairs, users should contact Accu-Chek customer support to determine if the issue is covered under warranty. Repairs are generally handled by authorized service centers, and users may need to provide proof of purchase. If the meter is out of warranty, repair costs may apply. For detailed warranty terms and repair procedures, refer to the user manual or contact customer support directly. This ensures timely resolution and maintains the device’s performance.